What to do, if you do not have a luxury of static IP, but still want to host some services using your server? Here is a quick, dirty and hacky workaround. Just perfect.
We would need a three things:
domain
cloudflare account
terraform installed
First, you need to transfer your domain to cloudflare. The main usecase of cloudflare is CDN, DDoS protection and a WAF, but we will leverage the fact, that Cloudflare has a terraform provider.
Next, go to your account settings, and create an API token. We will need it later.
terraform {
  required_providers {
    cloudflare = {
      source  = "cloudflare/cloudflare"
      version = "~> 4.0"
    }
  }
}

provider "cloudflare" {
  api_token = "PUT API TOKEN HERE"
}

variable "zone_id" {
  default = "TAKE ZONE ID FROM CLOUDFLARE"
}

variable "domains" {
  default = ["subdomain1","subdomain2","example.com"]
}

data "http" "myip" {
  url = "https://ipv4.icanhazip.com"
}

output "ip" {
  value = "${chomp(data.http.myip.response_body)}"
}

resource "cloudflare_record" "dynamic-ip" {
  for_each = toset(var.domains)
  zone_id = var.zone_id
  name    = "${each.key}"
  content = "${chomp(data.http.myip.response_body)}"
  type    = "A"
  proxied = false
}
Save it with .tf extension. Change api_token and zone_id. Put your subdomains to the list.
This code is checking for your external IP, and if it changed since the last run, it will update your DNS records.
Now we can add terraform apply –auto-approve to cron, and run it every hour or so. Slightly better would be systemd timer. To configure it, create two files:
/etc/systemd/system/terraform-cloudflare.service
[Unit]
Description=update dns

[Service]
Type=oneshot
WorkingDirectory={{path to your .tf code}}
ExecStart=/usr/bin/terraform apply --auto-approve
/etc/systemd/system/terraform-cloudflare.timer
[Unit]
Description=Timer to update dns

[Timer]
OnCalendar=hourly
Persistent=true

[Install]
WantedBy=timers.target
Before publishing any service over the internet, it is crucial to configure https. We are doing it mainly for security, privacy and data integrity. Browsers will be annoying users, if your page uses self signed certificates, or do not have it at all.
In terms of obtaining certificates we have two options. We can buy one year certificate from CA, and we need to remember to change it before it expires. Or we can have it for free, and have it refreshed automatically. In this post, I will cover latter option.
First, we need to install cert-manager. It is a handy tool for obtaining, renewing and using tls certificates. Below command will deploy it to our cluster
It is not a surprise, but before obtaining the certificate, we need a domain. Configure record A, and point it to your cluster first. I am using Cloudflare, since it has terraform provider, but I will cover it later.
If you already configured DNS record, you can check the propagation with dnschecker.org , because this operation can take some time.
Now, we need some service we want to publish. Lets say we want a wordpress blog.
I will not go into boring details. Anyway, here is the high-level flow:
traefik creates cert request
cert-manager passes challenge, to prove ownership of the domain
traefik publishes it, so LetsEncrypt can read the challenge
cert-manager stores the certificate as k8s secret
traefik uses the certificate to decrypt the traffic, and route it to the service (wordpress)
LetsEncrypt certificates are valid for 90 days. But it is not a drawback. It is additional motivation to automate it using cert-manager or Certbot. Those tools are renewing your certificates every 30 days.
If you are running k8s workloads on a linux machine, chances are that you are using Gnome desktop environment as well. With growing number of pods, your mount list will be bigger and bigger. gvfs-udisks2-volume-monitor is Gnome tool that is monitoring volumes and devices, and occasionally can do stuff, like mounting usb drive for you. But in my case it was eating whole CPU.
can be use as a workaround, but I found better, permanent solution.
dnf group remove gnome-desktop
Of course, before doing that, explore alternatives. For me, window manager of choice is i3wm. It is a highly customizable, lightweight tiling window manager.
Lets start with tiling. It means, that windows can not overlap each other, utilize maximum available space, and can be easly moved around using keyboard shortcuts.
Tiling window manager automatically arranges windows for you. It is handy when dealing with high resolution, ultra wide, or multi monitor setups. Windows can be rearranged, moved to different monitors or workspaces in fractions of seconds.
Tiling WMs are usually lightweight and have minimum dependencies. It makes them a goood choice for a server with occasional gui interaction. For example, by default, i3 can not display background image, and has no option to lock the screen. But those tools can be easly added to the config file.
The options for tiling WM are:
i3. Minimalist window manager, with reasonably shallow learning curve, and easy to understand config file
bspwm – organize windows in a form of binary tree(?). shell scripts allows complex behaviours(?)
XMonad – written in Haskell, configuration require Haskell knowlege. Highly customizable, but steep learning curve
AwesomeWM – Configured in LUA. Can work as floating WM, for specific usecases
herbstluftwm – relatively smaller than previous, but still intresting project
Qtile – written and configured in Python. Xmonad for Pythoninstas
Sway – i3, but for Wayland
dwm – maintained by suckless.org with all its assets an liabilities. Lets give them a voice: << Because dwm is customized through editing its source code, it’s pointless to make binary packages of it. This keeps its userbase small and elitist. No novices asking stupid questions. >>
Few years ago I chose i3. It is still a good choice, but today I would also consider Qtile. Anyway, there are two ways to get working i3.
With all that stuff installed, we can go to config file: ~/.config/i3/config
$mod – most of the i3 shorcuts start with this mod key, with combination of another button. I set this as Mod1 – which is left alt
bindsym $mod+Return exec alacritty – it opens terminal right away
bindsym $mod+Shift+q kill – kills currently focused window
bindsym $mod+Left focus left – change focus to another window, similar for right, up and down
bindsym $mod+Shift+Left move left – it moves window to the left
More combinations that becomes handy are:
mod+h – next windows will split current horizontaly
mod+v – same, but vertically
mod+f – toggle fullscreen
mod+s – stacking style
mod+w – tabbed
mod+e – rearrange all windows, using horizontal, or vertical style
mod+1 – switch to workspace 1. same for 1-9
mod+Shift+2 – move focused window to workspace 2. same for 1-9
There is an option to resize windows, but I do not use it very often. Last but not least
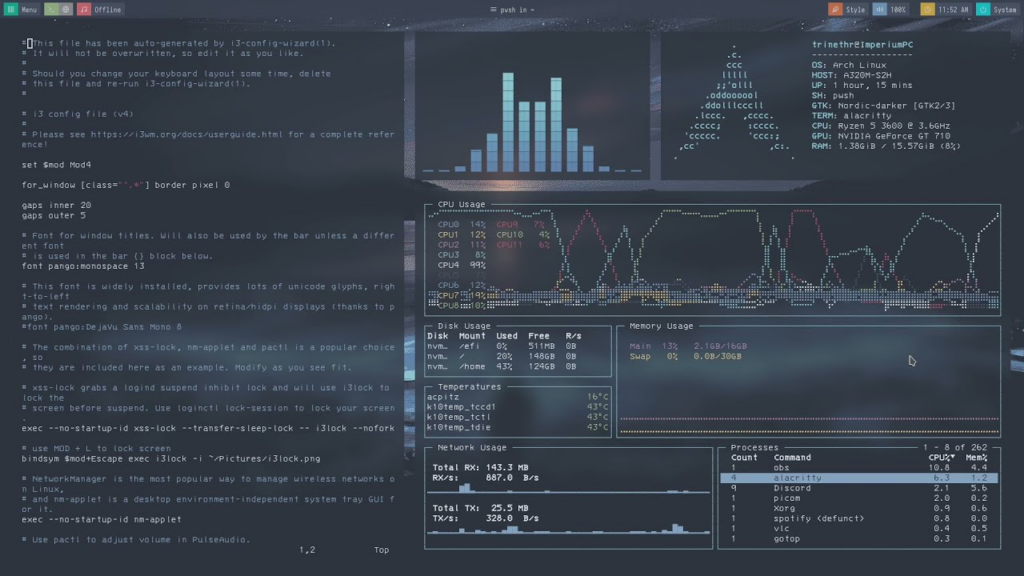
bar {
        status_command i3status-rs
        height 25
}
It is possible to have different instances if status_command for each monitor. It is important, since most of laptop screens has higher pixel density, and same font size, can be barely readable. For the aesthetic I set “gaps inner 20” to have a little space between windows.
Learning tiling window manager takes some time. But it makes user experience much better in the long term. Shortcuts to move, spawn or kill windows are definetely worth it. Configuring everything from scratch is not for everyone, but I would rather configure status bar for myself, than chase gvfs-udisks2-volume-monitor bug if I need to chose.
If you already have k3s cluster installed, you still need to solve storage class issue. Lets assume, you have 2 nodes cluster, and your workload was rescheduled to another node. To move the pod, and give it an access to its belongings, you need some sort of distributed storage system. One of the options is Longhorn. Among many advantages, here are my highlights:
lightweight and easy to install. It makes a perfect match for k3s
snapshots
backups that can be sent to s3
arm compatibility
dynamic volume provisioning
allows volume expansion
read-write many
metrics accesibie for prometheus
clear and friendly UI
community backed up by rancher
resilence and disaster recovery. By default, each volume has two replicas (assuming 3+ nodes cluster)
Installing longhorn is quite easy. But first, we need to check couple of prerequisites. Required software for each of the nodes is:
running iscsid
installed open-iscsi
NFS4 for RWX volumes
You can check it with below command:
# For AMD64 platform
curl -sSfL -o longhornctl https://github.com/longhorn/cli/releases/download/v1.7.2/longhornctl-linux-amd64
# For ARM platform
curl -sSfL -o longhornctl https://github.com/longhorn/cli/releases/download/v1.7.2/longhornctl-linux-arm64

./longhornctl check preflight
And even fix what is missing:
./longhornctl install preflight
Installing longhorn on your cluster is even easier. First, add longhorn repository:
I always find typing -n {{namespace}} after each command tedious. I highly recommend kns tool for switching kubectl context: https://github.com/blendle/kns . For those working with multiple clusters on daily basis, ktx would be nice addition too.
After installing longhorn, we need to make it default storage class for our cluster. Lets inspect:
kubectl get sc -o custom-columns="NAME:.metadata.name,DEFAULT:.metadata.annotations.storageclass\.kubernetes\.io/is-default-class"
NAME              DEFAULT
local-path        true
longhorn          true
longhorn-static   <none>
We need to set default to false for local-path. Here is the command generated by ChatGPT:
patch kubernetes storage class local-path, set storageclass.kubernetes.io/is-default-class to false
ChatGPT said:
To patch the local-path StorageClass and set storageclass.kubernetes.io/is-default-class to false, you can use the following kubectl command:
k3s is lightweight kubernetes distribution, perfect for home-lab and sandbox purposes. It scales well, from RPi to 4xLarge 32GB servers. It is super easy to install. Assuming you have linux distribution:
curl -sfL https://get.k3s.io | sh –
Check for Ready node, takes ~30 seconds
sudo k3s kubectl get node
and you will see something similar to this: NAME STATUS ROLES AGE VERSION fedora-1.home Ready control-plane,master 12d v1.30.5+k3s1
After that you can copy kube config from /etc/rancher/k3s/k3s.yaml to ~/.kube/config and enjoy fully working kubernetes cluster.
If you intend to expand your cluster, then persistent volume claims sooner or later will become an issue. Default storage class for k3s is local-path. It is working fine for single-node clusters. But distributed storage is must-have for multi-node clusters. Even though, you can setup PVC’s using nfs backend, I would not recommend it. Performance and stability issues are common for that solution. Currently, Ceph and Longhorn are most common choices. From those two, I chose Longhorn, because it is lightweight, easy, and has full list of features working out of the box.